

BUILD file to run it.
Set up a dev environment
To get started, we’ll use the Python starter from https://github.com/aspect-starters/py.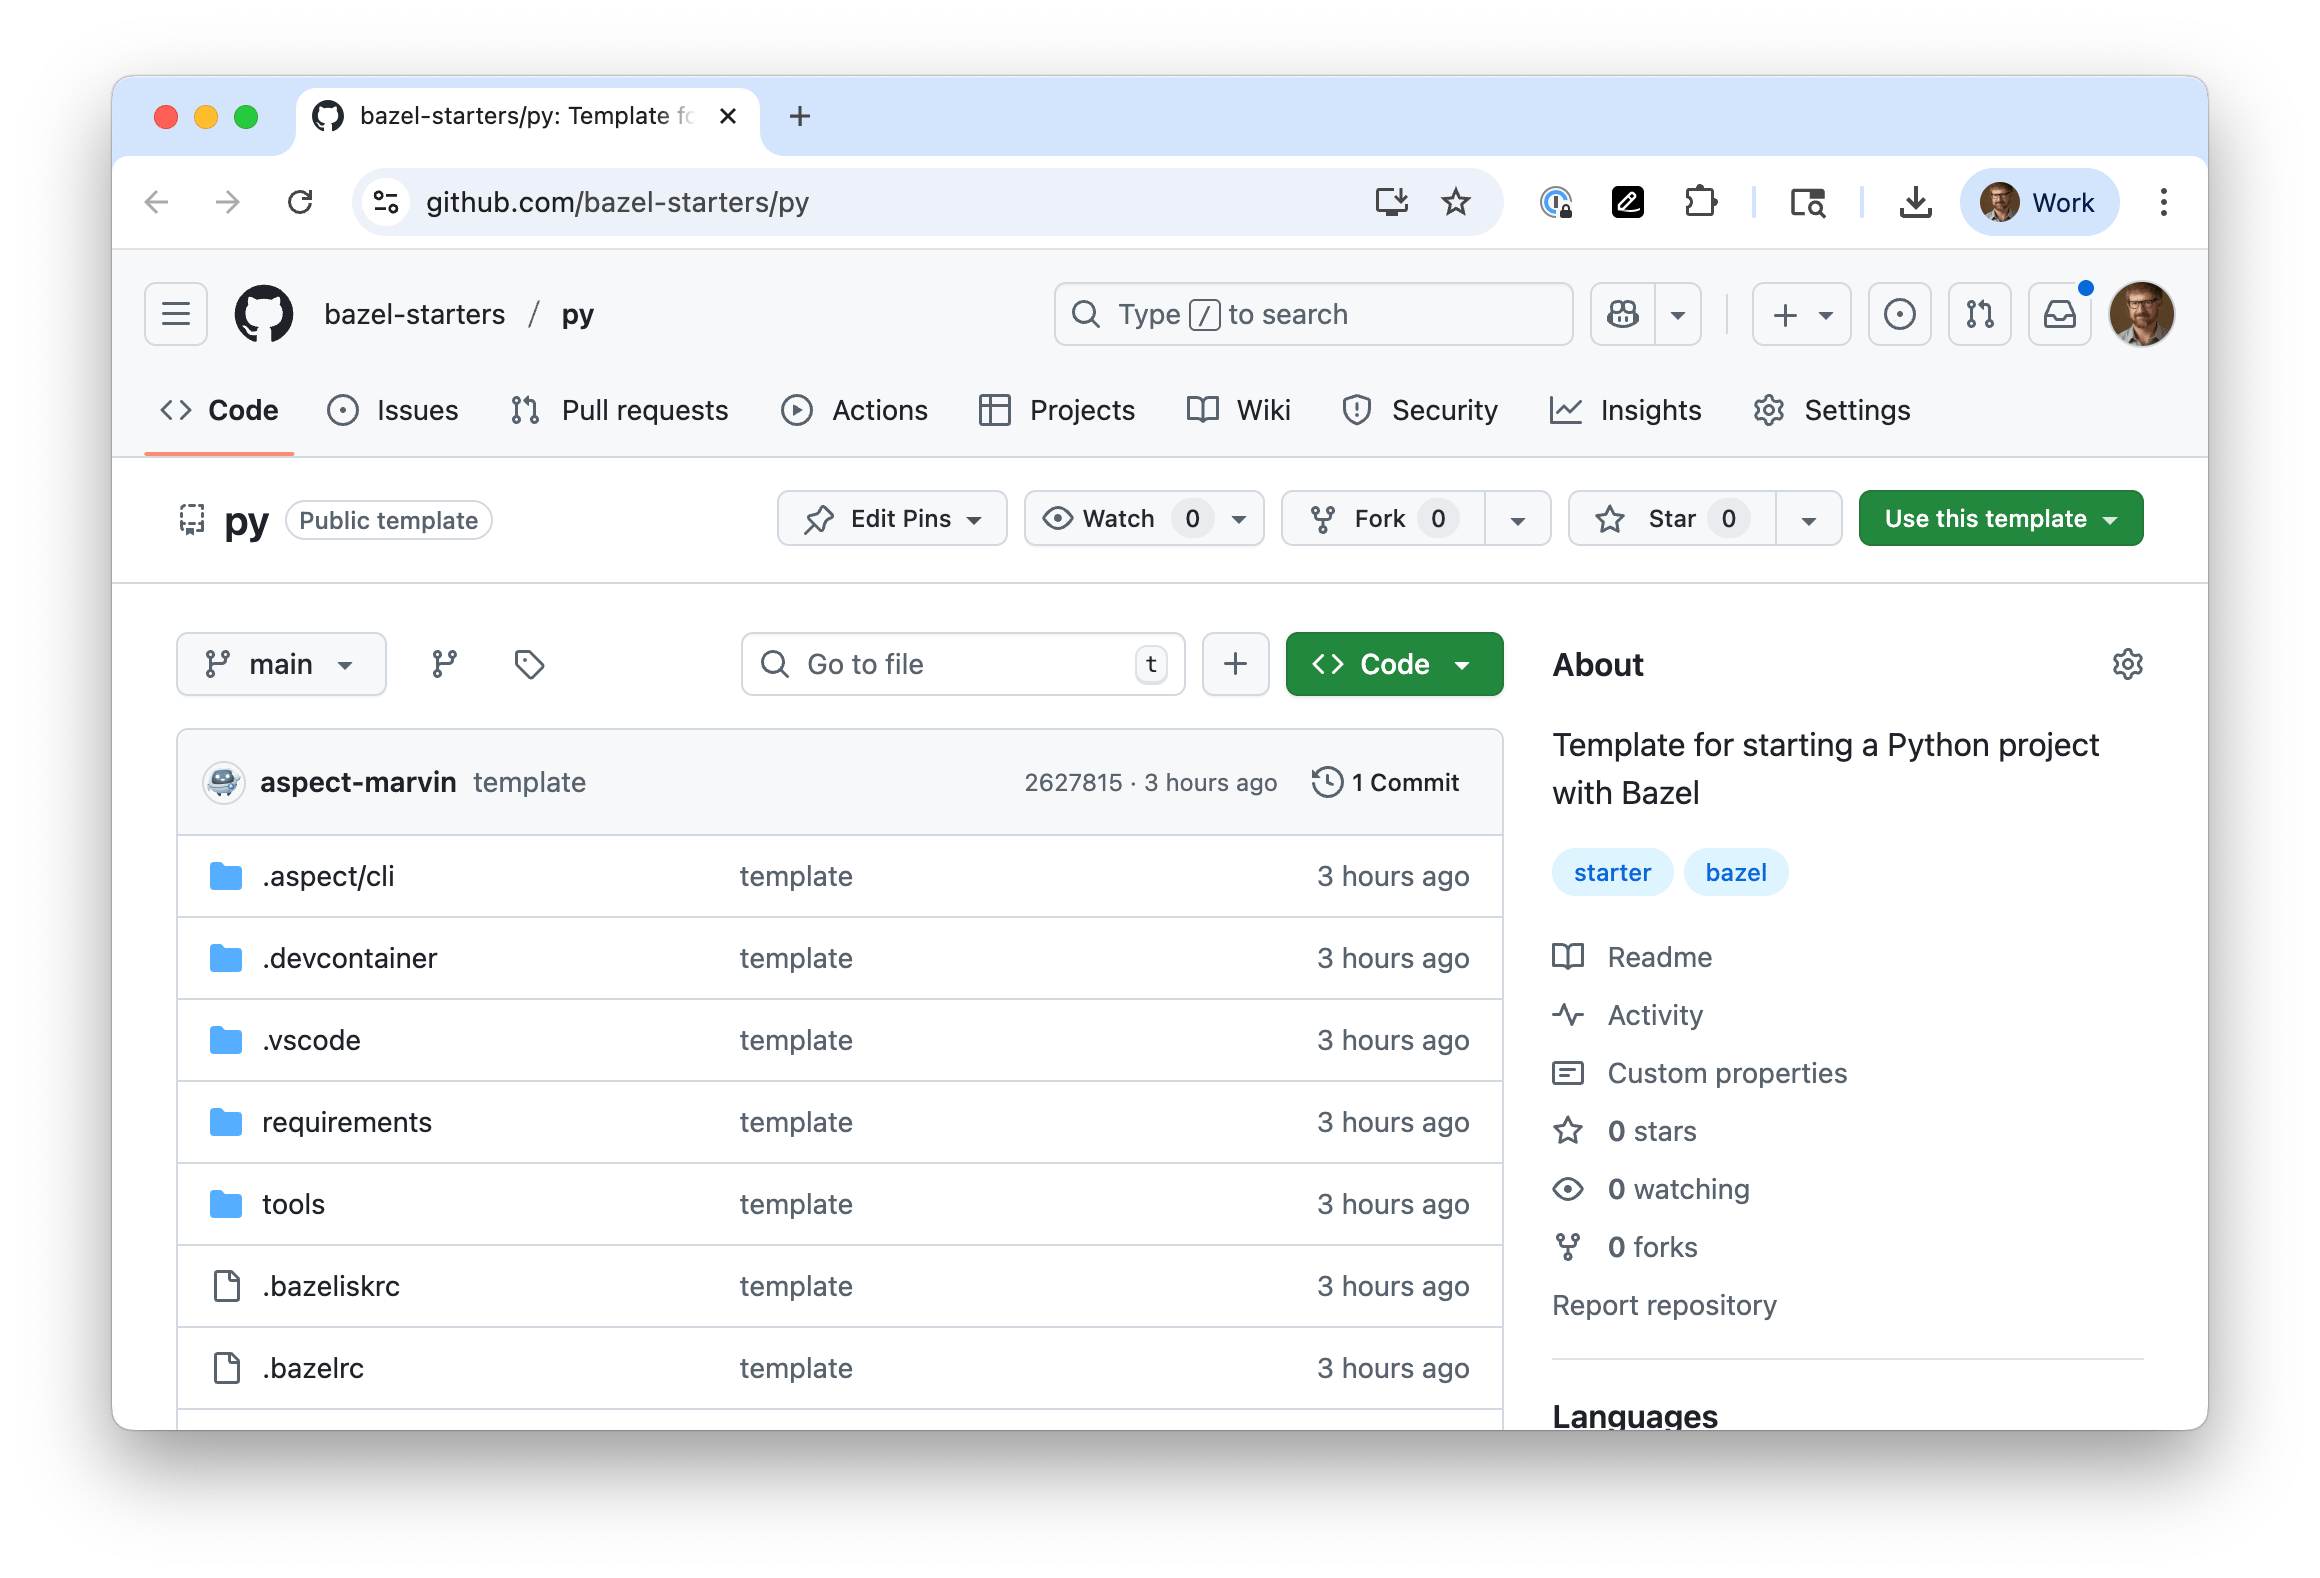
A permanent project
If you’d like to make a permanent new project, click the green “Use this Template” button. Then choose “Create a new repository” and pick a name for your new project. After the course you can continue to evolve the code following Aspect’s other recommendations. Once you’re in your new project, press the comma (”,”) keyboard shortcut to open the project in a codespace.Ephemeral playground
You can create a free remote development “playground” environment where you can easily experiment. From the starter repo, there are a couple options:- Click the green “Use this Template” button. Then choose “Open in a codespace”. By default, this gives you a small machine to experiment with.
- You can also navigate to https://github.com/codespaces/new and choose a larger machine. This will make the setup a few minutes faster, and of course it makes later development more responsive.
starpls or buildifier don’t worry - these will be setup by the post-install hooks.
At this point you should have a working development environment - let’s dive in!
Requests example code
Let’s start with a “getting started” snippet for the Python “requests” module: It gives a good example of installing an external package from PyPI.- Create a folder named
app - Create a file
__main__.py(double underscores before and aftermain). This is the Python convention for an executable entry-point. - Copy this code to create a trivial “client” application:
Declare and pin requirements
Since therequests package is a new dependency of the repository, you first need to declare that.
This example uses a pyproject.toml.
Bazel’s rules_python supports the simpler
requirements.txt format as well. dependencies section, which should now look like this:
pip compile tools.
This exercise uses uv pip compile which comes from rules_uv,
and it provides executable targets to update the pinned dependencies, which you can use with bazel run //requirements:runtime.update.
Take a look in the requirements folder.
There are files for different purposes; for example test.in lists the pytest dependency needed for testing.
Since there are multiple pinned dependencies, it would require multiple bazel run commands to update everything.
The repository has a convenience script to make this easy, so you should only need to run:
requirements/all.in file, which has the complete, constraint-solved set of dependencies for our repo.
It includes hashes of each package for better supply-chain security.
This file is used by rules_python to install dependencies. Note in MODULE.bazel that it’s referenced by a pip.parse module extension:
Generate BUILD files
For Bazel to understand the Python code, it expectsBUILD files containing Python rules.
Since you’ve written a program, you need to add a py_binary rule to make it runnable.
Run aspect gazelle to create the BUILD files.
We have setup a pre-compiled Gazelle binary here, so this step doesn’t need to compile Go and C++ code
app/BUILD to see the generated content.
At this point the py_binary should be functional, so you can run it with the following command: