

bazel command in your terminal.
Installation via starter template
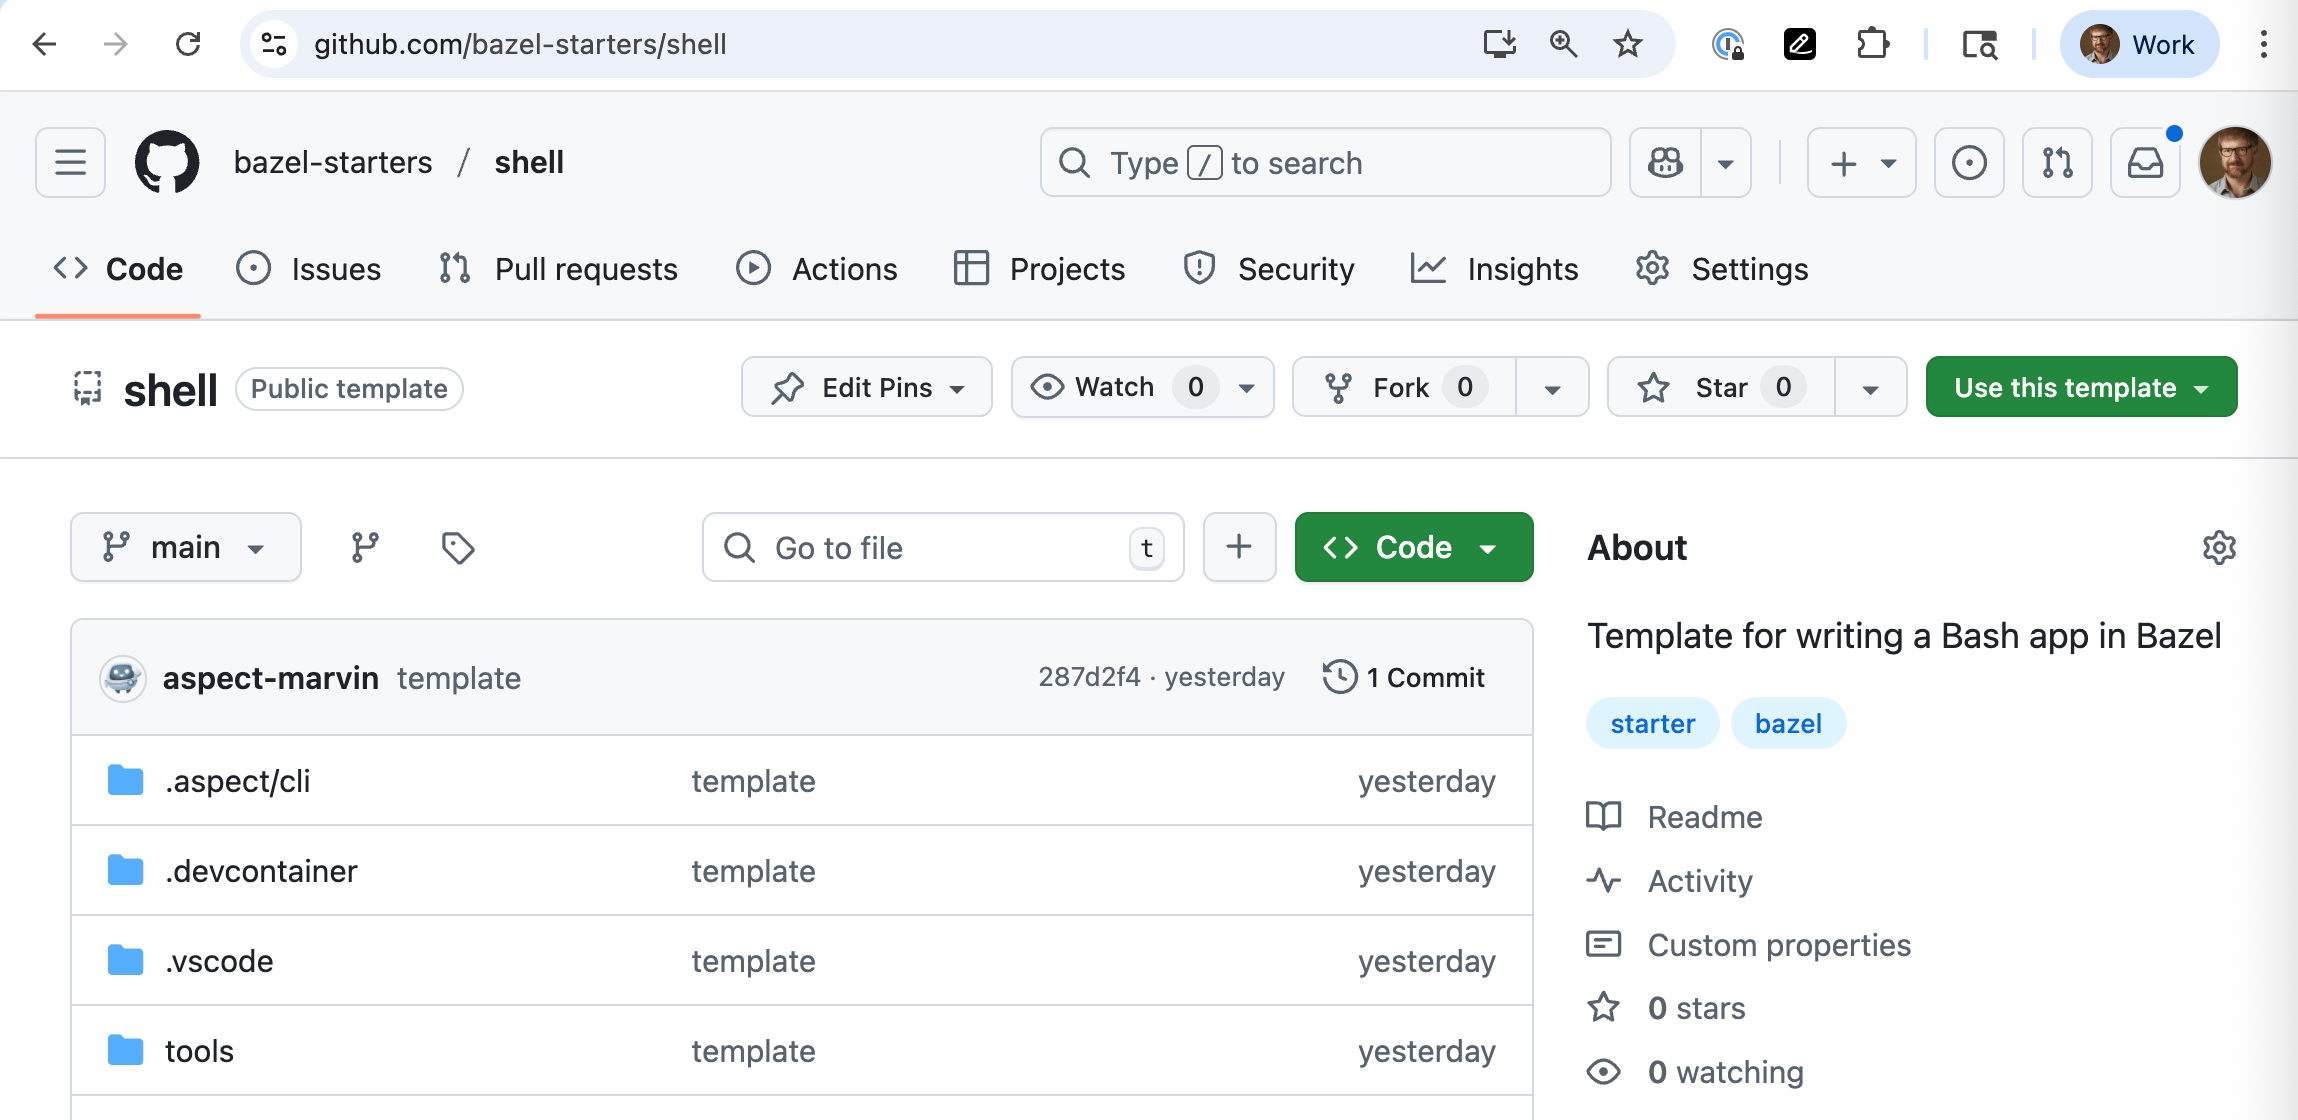
The fastest way to get started is using GitHub Codespaces, which comes with Bazel pre-installed via Bazelisk. No manual installation required. To get started, we’ll use the Shell starter template. You can create a new Bazel project using one of these methods. Option A allows you to create a permanent project, while option B gives you a playground to experiment with.Option A: Create a new repository
- Click on the use a template green button at the top right corner of the starter repository.
- Select create a new repository from the drop menu.
- Pick a name for your new repository.
- Click Create repository and you will be redirected to your new repository with the bazel template.
- Press , (comma key) on your keyboard to open the project in a Github codespace.
GitHub Codespaces comes with Bazel preinstalled via Bazelisk,
so no manual Bazel installation is required.
Option B: Test on a remote playground
- Click on the use a template green button at the top right corner of the starter repository.
- Select open in codespace to open the project in a GitHub codespace.
Installation via Bazelisk
Bazel installation via Bazelisk is highly recommended by the team at Google. Bazelisk provides:- A version-aware wrapper for Bazel
- Automatic resolution and installation of the Bazel version specified in the project’s
.bazelversionfile - Consistent Bazel versions across developer environments and CI, preventing version drift
path, so they don’t need to think about the distinction.
To get started, we’ll use the Bazel shell starter template that is setup in a codelab environment that uses Bazelisk.
The plain shell scripting is used here, because students of the 101 course might be unfamiliar with any language we pick
Installation via Aspect CLI
This course uses the Aspect CLI as a wrapper forbazel and it has features
that make Bazel easier to learn; such as improved output from bazel help and added commands like bazel lint, while remaining fully backwards-compatible with vanilla Bazel. You are free to go back to vanilla Bazel anytime.
Install with Homebrew (macOS)
To install via Homebrew, run the following command:.bazeliskrc file that is checked into your repository, which lets your team share the same Bazel setup.
When this file is present, any engineer who runs bazel (which is usually Bazelisk on their machine) automatically gets the Aspect CLI features, without installing anything extra themselves.
Try it
Let’s confirm that Bazel is installed. Runbazel help to get familiar with it.
You may also run bazel version to verify the installation. If you prefer not to run commands yourself, follow along with the instructor to see all the exercises presented.
Don’t worry if your team doesn’t use the Aspect CLI. This course works with vanilla Bazel, we’ll clearly mark any Aspect-specific features and show you the alternatives.
Installation via Binary downloads
Bazel publishes release binaries, which are assets you can download directly from the GitHub releases.- Download the binary file.
- Rename the binary file to bazel.
- Add it to your
PATH. - On macOS: Run
xattr -c $(which bazel)to remove the Unknown Developer warning